Have you ever noticed that cleaning your pet’s ears isn’t just another daily duty? It’s like giving your furry friend a gentle hug that keeps them comfy and happy.
Imagine washing your hands to chase away germs. Taking care of your pet’s ears does the same thing, it helps prevent needless discomfort and pesky infections.
In this guide, we’ll walk through some easy, pet-friendly tips for cleaning your pet’s ears safely. Whether you’re looking after a playful dog who loves water or a gentle cat with a delicate touch, these simple steps mix loving care with smart health habits.
Safe Auditory Care for Your Pet’s Ears
Keeping your pet’s ears clean is an important part of their overall health. Clean them one to three times a week to help ease allergic flare-ups and keep pesky infections at bay, kind of like washing your hands to chase away germs. If your dog loves water, you might want to clean their ears even more often since water can bring in dirt and debris.
When you clean your pet’s ears, make sure to use a gentle, pet-safe cleanser without alcohol, hydrogen peroxide, or any harsh chemicals. These ingredients can irritate their sensitive skin and even affect their hearing, much like how you’d handle a delicate flower with extra care.
Sticking to a simple ear care routine means your pet stays comfortable and avoids painful problems later on. After cleaning, use a soft cloth or cotton ball to wipe away any extra cleanser once your pet shakes their head. It’s a small step that mixes a lot of love with smart health habits.
A gentle, regular ear care routine helps every pet feel safe, loved, and well cared for.
Understanding the Anatomy of Your Pet’s Ear Canal

Dog Ear Anatomy
Dog ears have a unique, L-shaped design with a 90-degree turn that creates a little maze. The ear is divided into three parts: the outer part catches sounds, the middle part carries them along, and the inner part turns them into messages for your dog's brain. This bend means you need a gentle cleanser to reach deep into those curves without hurting the soft skin or eardrum. Think of it like following a winding trail, each twist requires a careful, gentle touch.
Cat Ear Anatomy
Cat ears work a bit differently. Their ear canals are more straight but much narrower and upright, making it easier for debris and ear hairs to build up. This can quickly turn into irritation for your kitty. With a soft, gentle cleaning solution, you can clear away any wax or buildup without causing harm. Imagine cleaning a tiny tube carefully, ensuring that your cat's ears stay clear and comfortable so they can enjoy every little sound.
Essential Tools and Materials for Pet Ear Hygiene
When it comes to keeping your pet's ears clean, having the right stuff makes a big difference. Start with a gentle, alcohol-free ear cleanser, it’s like giving your furry friend a mini spa day. You wouldn’t use strong chemicals on your skin, so why use them on their delicate ears? I always go for a cleanser that feels cool and refreshing, just like a light rinse on my dog’s ears.
Next, you'll need a few more items to keep everything neat and safe:
| Item | Description |
|---|---|
| Pet-friendly ear cleanser | A mild, alcohol-free formula for a safe clean |
| Cotton balls or gauze pads | Used for gentle dabbing without pushing debris deeper |
| Soft towels or absorbent cloths | Catches any stray droplets if your pet shakes its head |
| Pre-moistened wipes | An optional extra for cleaning up any mess |
These tools help you remove dirt and extra liquid carefully. A soft towel can catch those little droplets, almost like a safety net, and cotton balls or gauze pads let you dab the area gently. And if you need some extra help, those wipes offer a nice little boost.
So, remember: using gentle, non-toxic products and the right cleaning tools makes ear cleaning a caring and stress-free experience for your pet.
Step-by-Step Guide to Cleaning Your Pet’s Ears Safely

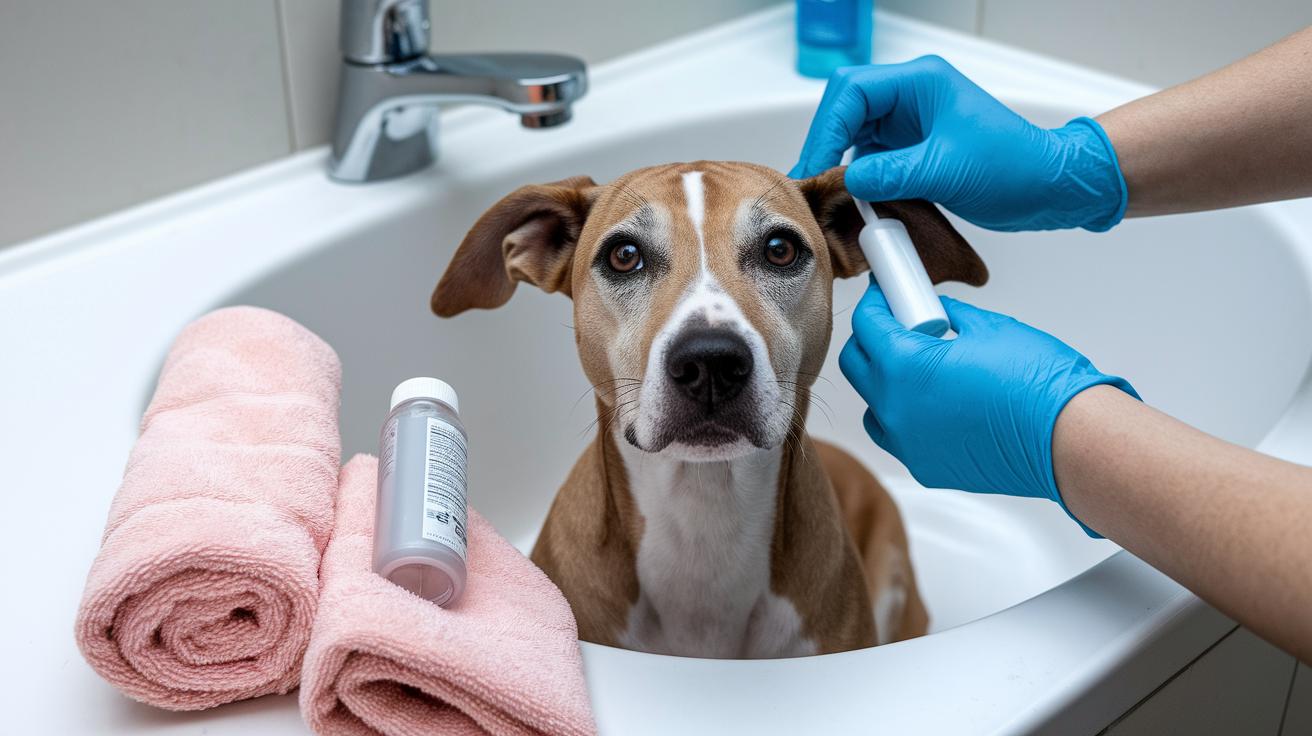
Step 1: Apply Ear Cleanser
First, lay your pet on its side so you can easily reach its ear. Open the ear flap and pour a good amount of a gentle, pet-safe cleanser right into the ear canal. Imagine filling a little bowl until the liquid starts to spill over; that's just enough to work its magic.
Step 2: Massage the Ear Base
Next, gently massage around the base of the ear for about 30 seconds. As you do this, you'll likely hear a soft squishing sound, that means the cleanser is moving into the curved parts of the ear. Think of it like kneading a dough or giving a soothing shoulder rub; it helps break up any wax or debris inside.
Step 3: Let Your Pet Shake Its Head
After the massage, allow your pet to shake its head. This is best done in an area lined with a towel so you can catch any liquid that comes out. Picture your pet shaking off water after playing in a puddle. Just be careful not to let the cleanser get near the eyes.
Step 4: Remove the Debris
Finally, use a cotton ball or gauze pad to gently wipe away any leftover debris and extra cleanser from the outer part of the ear. Only dab at the entrance of the ear canal, think of it as a soft pat, like you're carefully smoothing a pet's fur. This ensures the cleaning is safe while keeping your furry friend comfy.
Safety Precautions and Common Mistakes in Ear Cleaning
Start cleaning your pet’s ears when they’re calm and relaxed. Instead of using Q-Tips, gently dab with a soft cotton ball or gauze pad, kind of like patting a spill away rather than scrubbing it in. This helps keep the dirt from going deeper into the ear.
Skip the alcohol-based wipes and hydrogen peroxide because they can dry out and irritate the sensitive skin inside the ear. Giving your pet a gentle ear massage while cleaning can loosen up any buildup without hurting them. And when your pet shakes its head, make sure to wipe off any extra cleaner from their face so it doesn't get into their eyes. Think of it like rinsing the soap off your face after washing your hands.
Be careful to avoid these common mistakes:
- Pushing objects too deep into the ear
- Using solutions with alcohol or peroxide
- Overlooking the helpful massage that loosens dirt
- Forgetting to clean off the extra cleaner from your pet's face
- Cleaning the ears when your pet feels anxious or isn’t well-restrained
Take your time with the process, and your furry friend will thank you for the gentle care!
Post-Cleaning Care and Maintenance for Healthy Ears

After you’ve gently cleaned your pet's ears, take a moment for a little extra care. Use a soft towel to dab the ear flap and surrounding fur dry. Think of it like gently patting your dog's ears after a fun bath, it helps stop any leftover moisture that might lead to infections.
After baths or swims, make sure to dry the ears thoroughly. Any lingering moisture can set up a cozy home for bacteria. If your pet loves water, a quick towel-dry is just as important as a pat on the back after a job well done.
It’s also smart to check your pet’s ears at least once a week. Look for any new wax buildup or tiny bits of debris that could bother them. If you notice any residue or damp spots, give them another gentle dab to keep things dry.
By combining careful towel drying with regular weekly checks, you’re setting the stage for healthy and happy ears while reducing the risk of future infections.
Recognizing Signs and Seeking Professional Ear Care
Keep an eye on your pet’s ears for small hints they might need extra care. If you notice an odd smell, red or sticky discharge, swelling, or even when your pet winces as you touch their ears, it’s like catching a runny nose in yourself, a clear sign something isn’t right.
Even with a regular cleaning routine, these clues might come back. For example, if your dog keeps shaking its head or if you still see bits of debris and a lingering smell after cleaning, it might mean an infection is developing. It’s best not to ignore these signals, as catching them early can prevent a bigger problem later on.
Here are some key signs to watch for:
| Sign | What It Means |
|---|---|
| Persistent odor or discharge | A smell or runny fluid that just won’t go away |
| Redness or swelling | The ear looks puffy or has red spots |
| Discomfort when touched | Your pet reacts with pain if their ear is handled |
| Bleeding or excess wax | Blood or too much earwax building up |
If these signs linger even after cleaning, visiting your veterinarian is a smart move. Taking note of these details shows your pet lots of love, and a little extra care can keep every ear healthy and happy.
Tailoring Ear Cleaning Techniques for Dogs vs. Cats
Canine Ear Cleaning Tips
When it’s time to clean your dog's ears, the trick is to adjust the gentle cleanser based on whether your pup has floppy ears or ears that stand up. Dogs with floppy ears tend to collect more wax in their deep folds, so you might need to use a little extra cleaner. On the other hand, dogs with upright ears usually only need a light touch. Grab some extra towels to catch any drips when your furry friend shakes its head, and be sure to give lots of praise or a tasty treat when your dog stays calm. A little reward goes a long way in making the experience pleasant and stress-free for both of you.
Feline Ear Cleaning Tips
Cleaning a cat’s ears takes a slightly different approach. Their ears are smaller and more delicate, so you need to be extra gentle. Use a small dropper or a cotton pad to apply just a small amount of cleanser. Pay close attention to their body language – if you see any signs of discomfort, like a quick head-butt, adjust what you’re doing to keep your kitty at ease. Generally, cleaning your cat’s ears every two to four weeks is enough unless they start showing signs of issues. With a bit of patience and gentle handling, you can keep your feline’s ears both safe and sparkly clean.
Final Words
In the action, you learned simple steps for proper domestic ear hygiene. The post broke down pet ear anatomy, provided safe tool tips, and detailed a step-by-step process to clean your pet's ears safely. It also highlighted common mistakes to avoid and shared methods for post-cleaning care. These practical tips serve as a handy guide for keeping ears healthy and preventing infections. Stick to these gentle practices, and you'll help maintain a happy, comfortable environment for your furry companion.
FAQ
How can I safely clean your pet’s ears at home?
Safely cleaning your pet’s ears at home means using a pet-safe, alcohol-free cleanser and gently massaging the ear base. Then, let your pet shake its head and wipe away the fluid using cotton or gauze near the outer ear.
What natural methods can you use for cleaning your dog’s ears at home?
Using natural methods for cleaning dog ears means making a mild saline solution with warm water. This gentle mix avoids harsh chemicals and helps to loosen wax without harming the delicate ear canal.
How often should you clean your dog’s ears?
Cleaning dog ears should be done weekly for most pets. Dogs that swim or have floppy ears may benefit from more frequent care, but avoid over-cleaning to prevent irritation.
Should you clean the inside of your dog’s ears?
Cleaning the inside of a dog’s ears means only cleaning the outer visible areas. Avoid inserting any items deep into the ear canal to prevent injury to the sensitive inner ear.
Is hydrogen peroxide safe for cleaning your dog’s ears?
Using hydrogen peroxide for cleaning dog ears is not safe because it can irritate the skin. Instead, choose an alcohol-free, pet-friendly cleanser that is gentle on your pet’s ear canal.
How do you safely remove the brown build-up from your dog’s ears?
Removing brown build-up safely means softening it with a gentle pet cleanser, massaging the ear base, letting your dog shake, and then carefully wiping away the debris using gauze or cotton balls.
How can you clean poodle ears at home?
Cleaning poodle ears at home means gently lifting the ear flap, applying a pet-safe cleanser, massaging the base for a short time, and carefully wiping away any loosened wax to avoid irritating the ear.
Which dog ear cleaning products are recommended?
The best dog ear cleaning products include pet-safe, alcohol-free cleansers, trusted wipes from stores like PetSmart or Chewy, and soft cotton balls. Always choose products designed specifically for dogs.
Where can you watch a video on cleaning your dog’s ears?
Watching a video on cleaning dog ears means visiting trusted pet-care websites or YouTube channels that offer step-by-step guides, helping you learn the safe techniques for gentle ear cleaning.